Convert jpg to fits: Difference between revisions
No edit summary |
No edit summary |
||
| Line 44: | Line 44: | ||
</source> | </source> | ||
'''Et Voila!''' You | '''Et Voila!''' You can use the FITS image Einstein.fits with '''simobserve''' and '''simanalyze'''. | ||
Revision as of 18:46, 9 November 2012
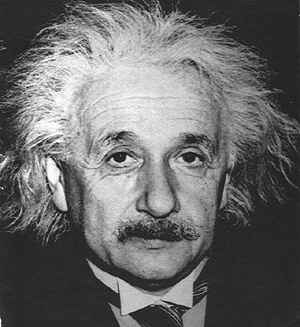
Step 1: Start with your JPG image.
Step 2: Convert your image to FITS
A handy list of FITS conversion programs is maintained by GSFC here Various software programs have conversion to FITS enabled. We used the (GIMP) to convert Einstein's face.
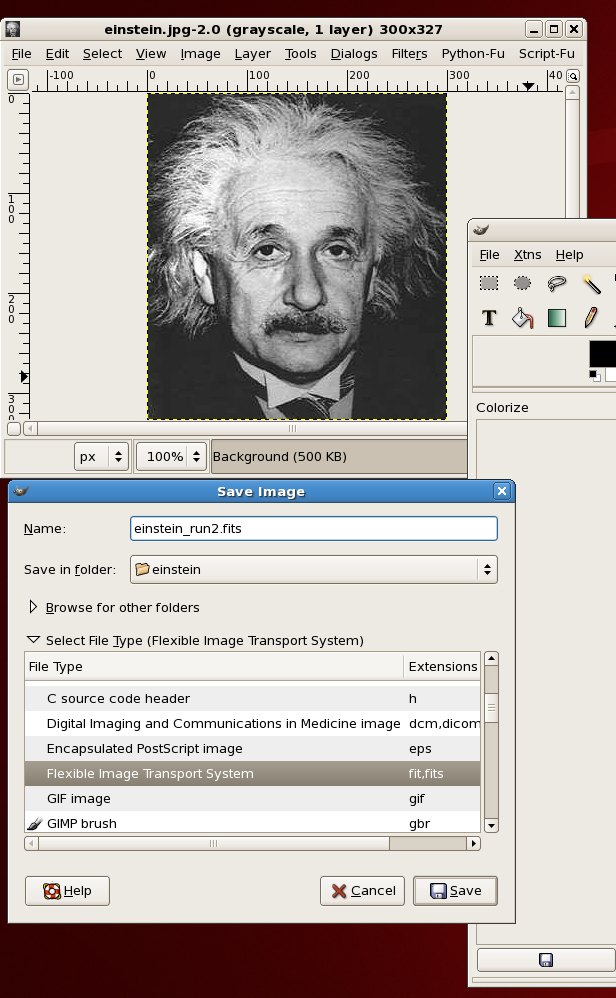
For the GIMP, start up the software
>gimp &
and in the main window select "Open" from the "File" menu.
The image will open up in a new window, you can use the GIMP to modify the image (adjust contrast, colormap etc).
Then, select "Save as" from the "File" menu in the window containing the image, and hit "Select File Type" in the dialog box to bring up the file type options, and select "Flexible Image Transport System". Pick a name for your file ending in .fits, e.g. einstein_orig.fits
Step 3 Add FITS header keywords and change the format
At this stage, we need to manipulate the FITS file to get it readable by simdata (an 8bit to 16bit conversion) and trim it down to 300x300 pixels.
First, read the FITS file into CASA. Then use immath to trim the image to 300x300 and write it out as 16-bit FITS file:
>casapy
importfits(fitsimage='einstein_orig.fits',imagename='testimage',overwrite=T)
default 'immath'
imagename = 'testimage'
expr = 'IM0'
box = '0,0,299,299'
outfile = 'testimage2'
immath()
exportfits(imagename ='testimage2',fitsimage ='Einstein.fits',bitpix=16,overwrite=T)
Et Voila! You can use the FITS image Einstein.fits with simobserve and simanalyze.

